
Cake Ingredients:

1 3/4 cups of flour (I used a combination of whole wheat and coconut flour)
3/4 cup cocoa
1 1/2 teaspoons baking soda
1 1.2 teaspoons baking powder
1 teaspoon saalt
1 cup milk, fat free
1/2 vegetable oil
2 eggs
2 teaspoons vanilla extract
1 cup boiling water
Filling and Icing Ingredients:

1/4 cup powdered sugar
1 teaspoon vanilla extract
2 drops of red food coloring
2/3 cups of crushed peppermints*
*1 tablespoon will be reserved for the finishing touch on the cake
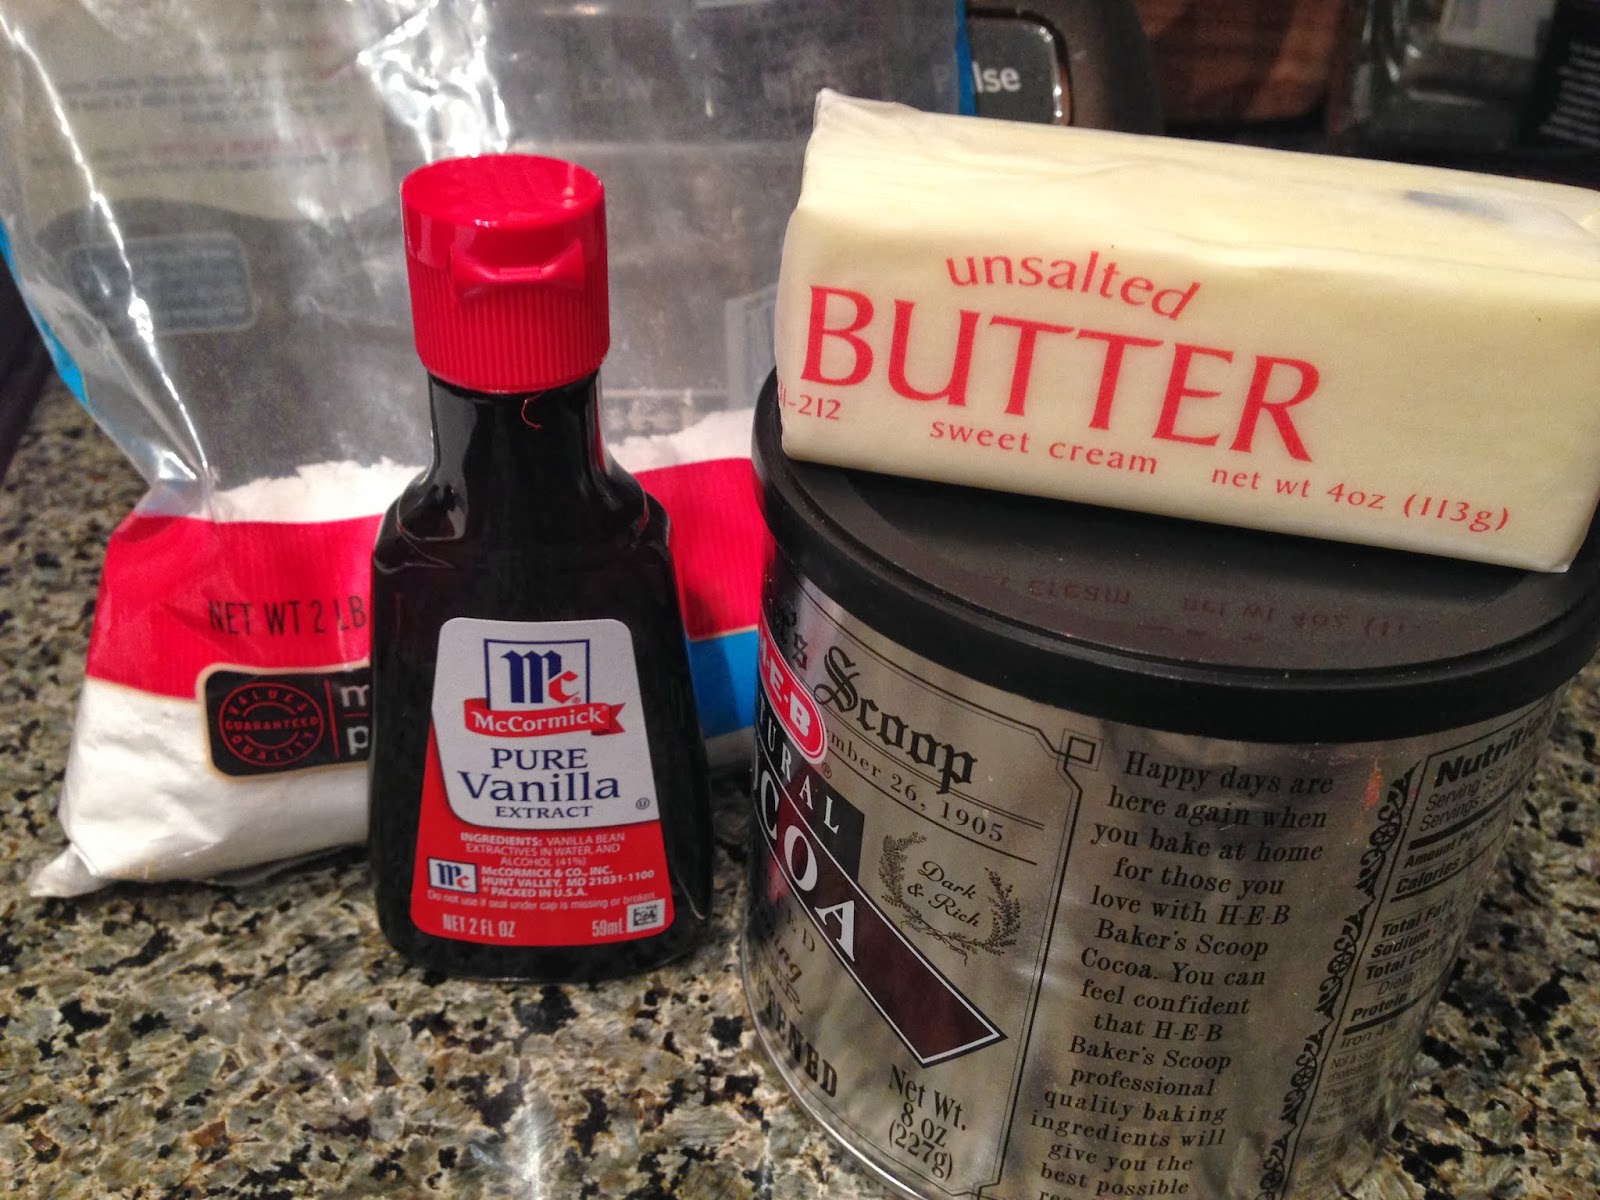
2 tablespoons butter, unsalted
2 tablespoons cocoa
2 tablespoons water*
1/2 teaspoon vanilla extract
1 cup powdered sugar
*You may need to add more water to get the correct consistency.
Cake Directions::


Begin by greasing and flouring three 8 1/2" to 9" round pans. In a mixer, combine the sugar, flour, cocoa, baking soda, baking powder and salt.


Add in the milk, vegetable oil, eggs and vanilla extract and beat on medium for 2 minutes. Stir in the boiling water. Note*: It will thin the batter so don't be alarmed.


Pour the batter into the greased and floured pans, making sure to evenly split the batter. Bake at 350 for 18-24 minutes or until a toothpick inserted into the cake comes out clean. *Note: I baked mine on two racks and then rotated the cakes part way through the baking since they didn't fit on one rack.
Filling/Icing Instructions:

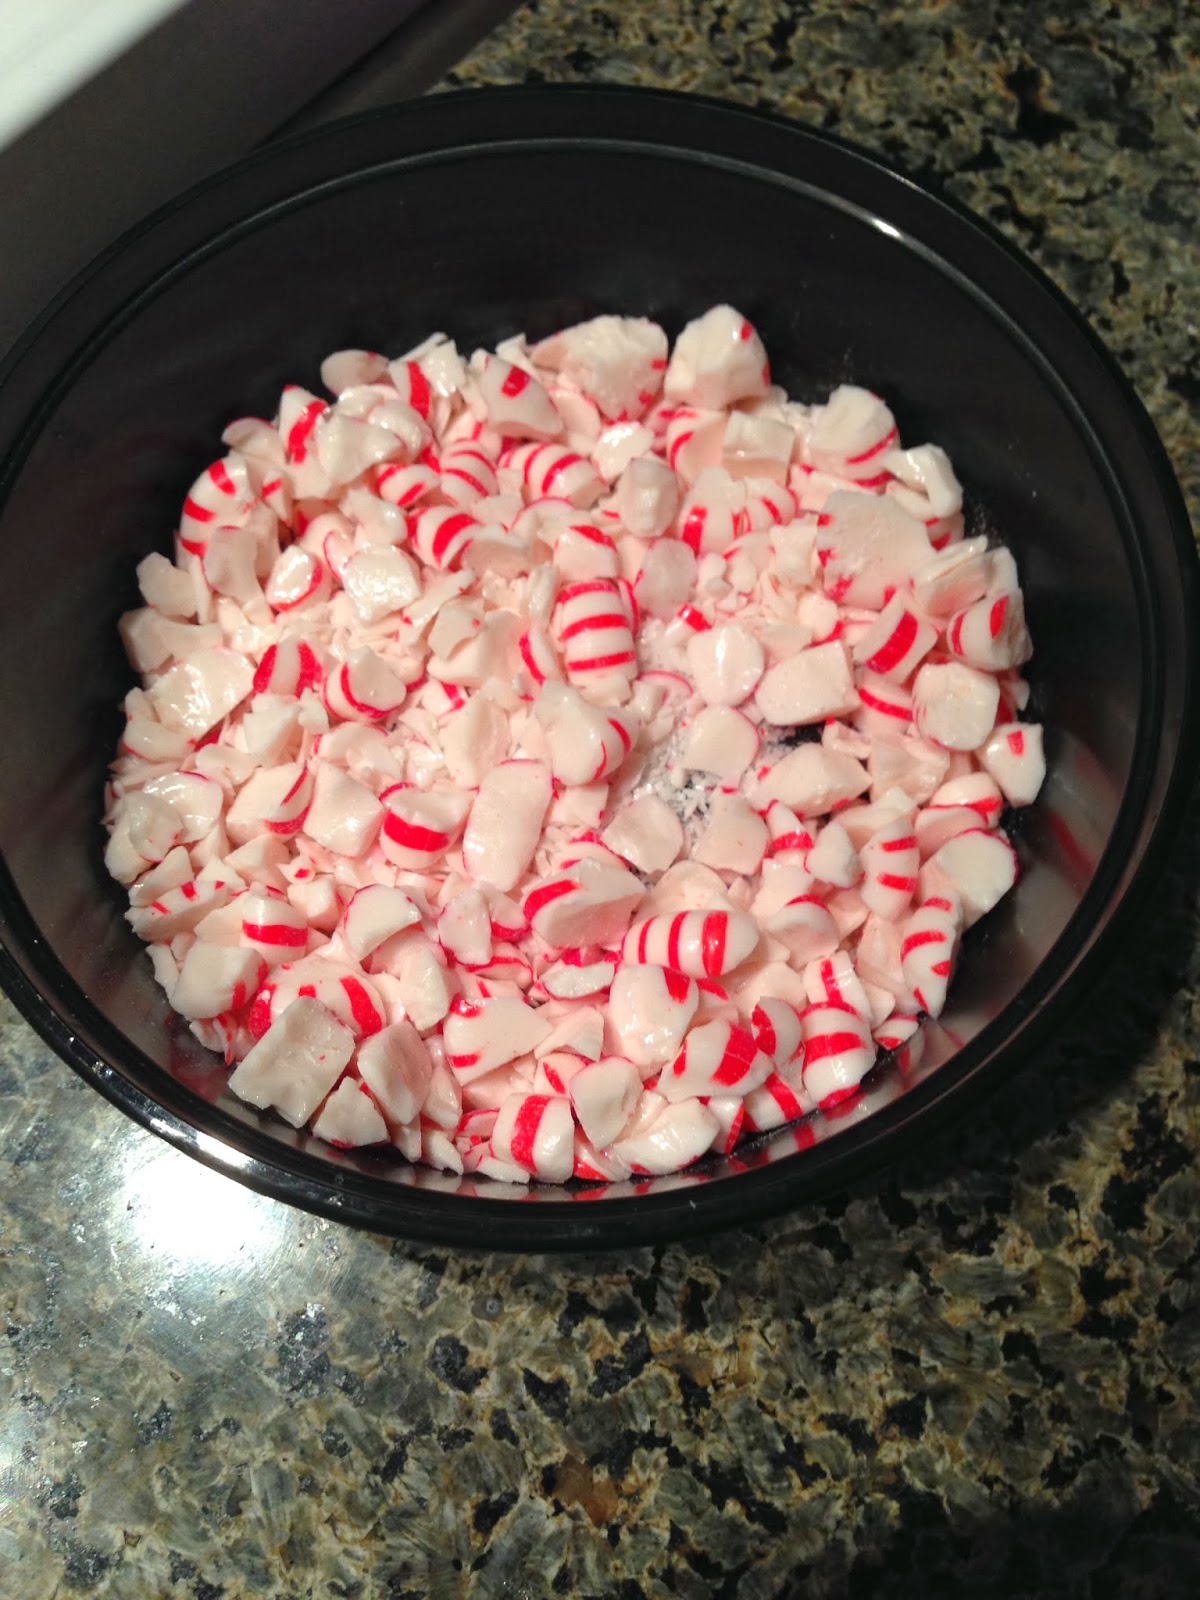
I needed to crush my peppermints, but you can buy them already crushed to save time. Put your mints in a ziploc bag and using a pan crush the peppermints. *Note: the bag will usually have some holes so be sure to put something underneath it.


Beat the cream on medium high for about 3 minutes until soft peaks form. When you put in a spatula or the beater, the cream should stick to it. Add in the sugar, vanilla and food coloring.


Beat until stiff peaks form. It should stick to the beater and not drip. Fold in the crushed peppermints, leaving out 1 tablespoon. Be sure not to over stir as you don't want to lose the fluffiness.


Spread the filling/icing between the layers and on the outside. Don't put any on the top.
Glaze Instructions:


Start by melting the butter in a small sauce pan over low heat. Add in the cocoa and water. Stir constantly until the mixture thickens. Then remove from the heat and whisk in the vanilla.


Blend in the sugar a little at a time until the mixture is smooth. I had to add some more water to thin it out. Pour and spread the glaze over the top of the cake. (Mine ran over the edges and down the sides a little bit, but I felt like it made it look a little more fun.) Sprinkle with the extra crushed peppermint and chill before serving. Keep this in the refrigerator to store.
No comments:
Post a Comment