Showing posts with label cake. Show all posts

Monday, December 23, 2013

Chocolate Peppermint Cake

I would say that I bake fairly frequently, but I can't remember the last time that I made a cake. I figured that the holiday season called for a festive cake, so I opted for a chocolate peppermint cake from Taste of Home. It looked the least complicated and didn't take almost a day to make. However, I will warn you that it is a three part cake - cake, icing/filling and glaze (so I apologize for the lengthiness of the post). They are fairly easy processes but it's not a one part cake. The other part about this is that you can make the cakes ahead of time and then assemble it on the day of your event.

Cake Ingredients:

2 cups of turbinado sugar
1 3/4 cups of flour (I used a combination of whole wheat and coconut flour)
3/4 cup cocoa
1 1/2 teaspoons baking soda
1 1.2 teaspoons baking powder
1 teaspoon saalt
1 cup milk, fat free
1/2 vegetable oil
2 eggs
2 teaspoons vanilla extract
1 cup boiling water

Filling and Icing Ingredients:
2 cups heavy whipping cream
1/4 cup powdered sugar
1 teaspoon vanilla extract
2 drops of red food coloring
2/3 cups of crushed peppermints*

*1 tablespoon will be reserved for the finishing touch on the cake
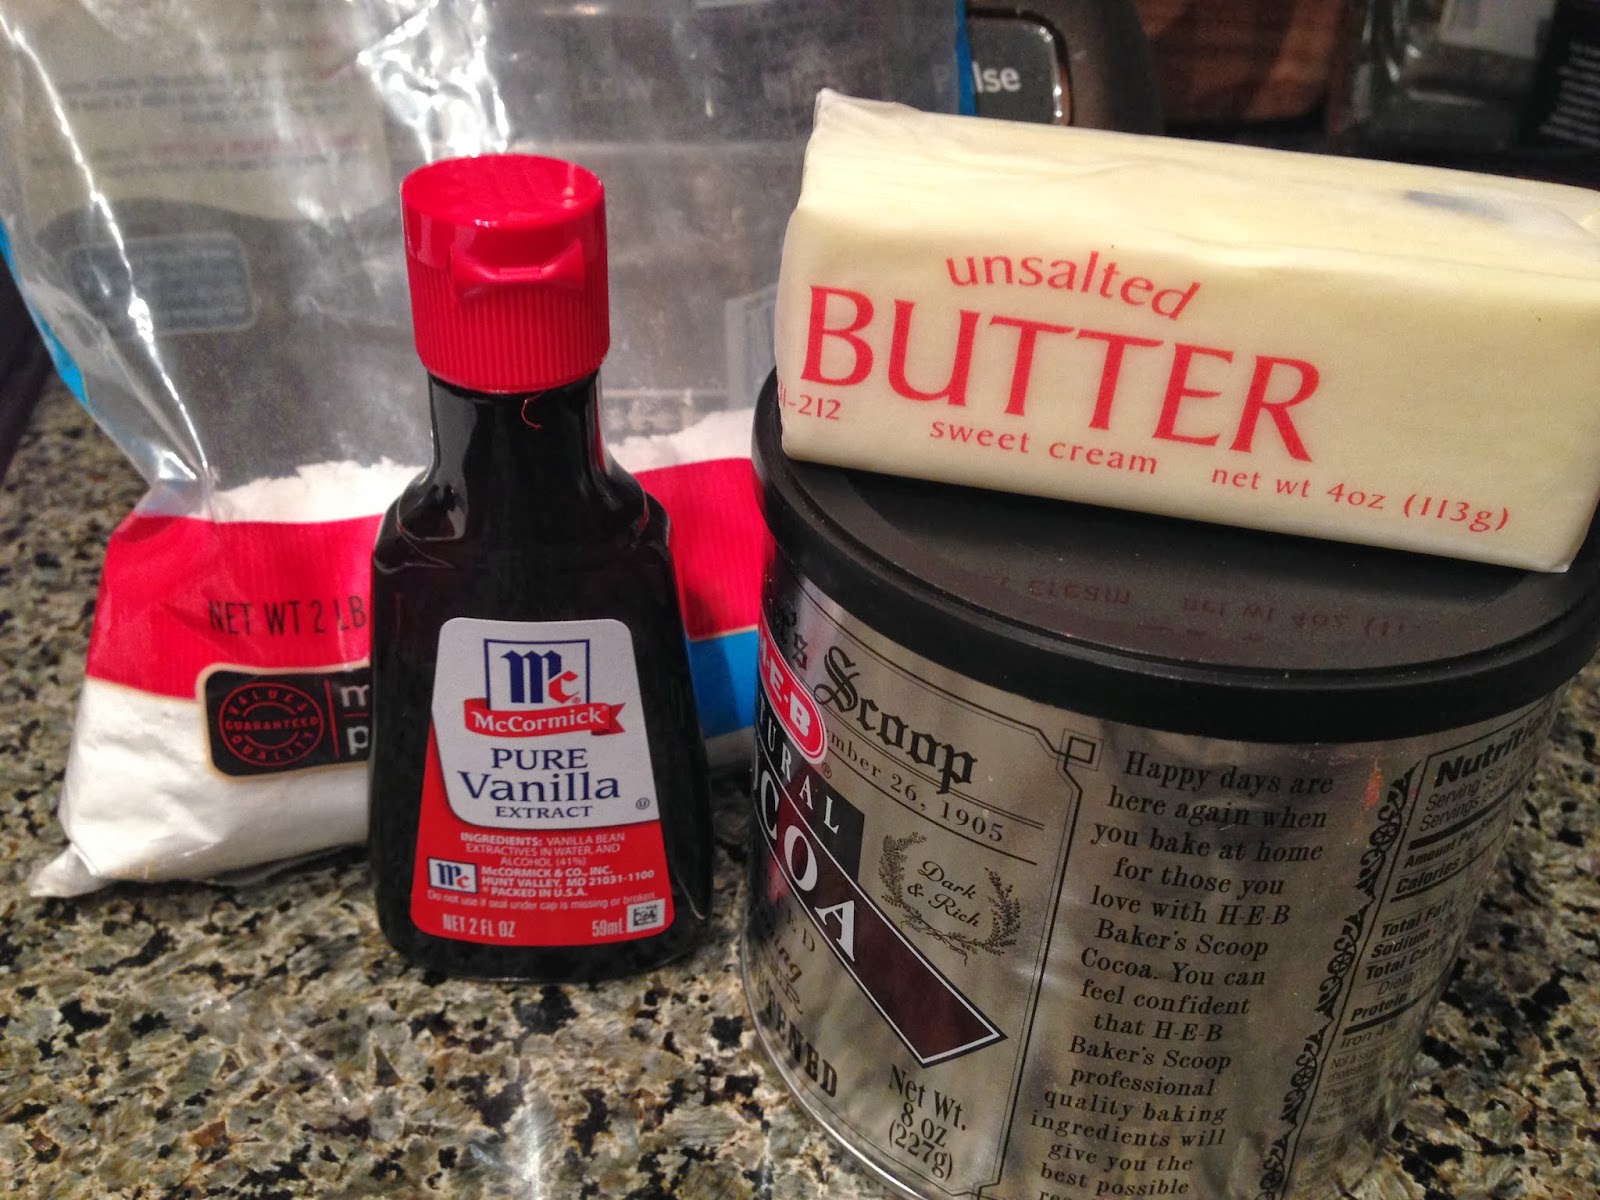
 Chocolate Glaze Ingredients:

2 tablespoons butter, unsalted
2 tablespoons cocoa
2 tablespoons water*
1/2 teaspoon vanilla extract
1 cup powdered sugar

*You may need to add more water to get the correct consistency.

Cake Directions::
Begin by greasing and flouring three 8 1/2" to 9" round pans. In a mixer, combine the sugar, flour, cocoa, baking soda, baking powder and salt.
Add in the milk, vegetable oil, eggs and vanilla extract and beat on medium for 2 minutes. Stir in the boiling water. Note*: It will thin the batter so don't be alarmed. 
Pour the batter into the greased and floured pans, making sure to evenly split the batter. Bake at 350 for 18-24 minutes or until a toothpick inserted into the cake comes out clean. *Note: I baked mine on two racks and then rotated the cakes part way through the baking since they didn't fit on one rack.

Filling/Icing Instructions:
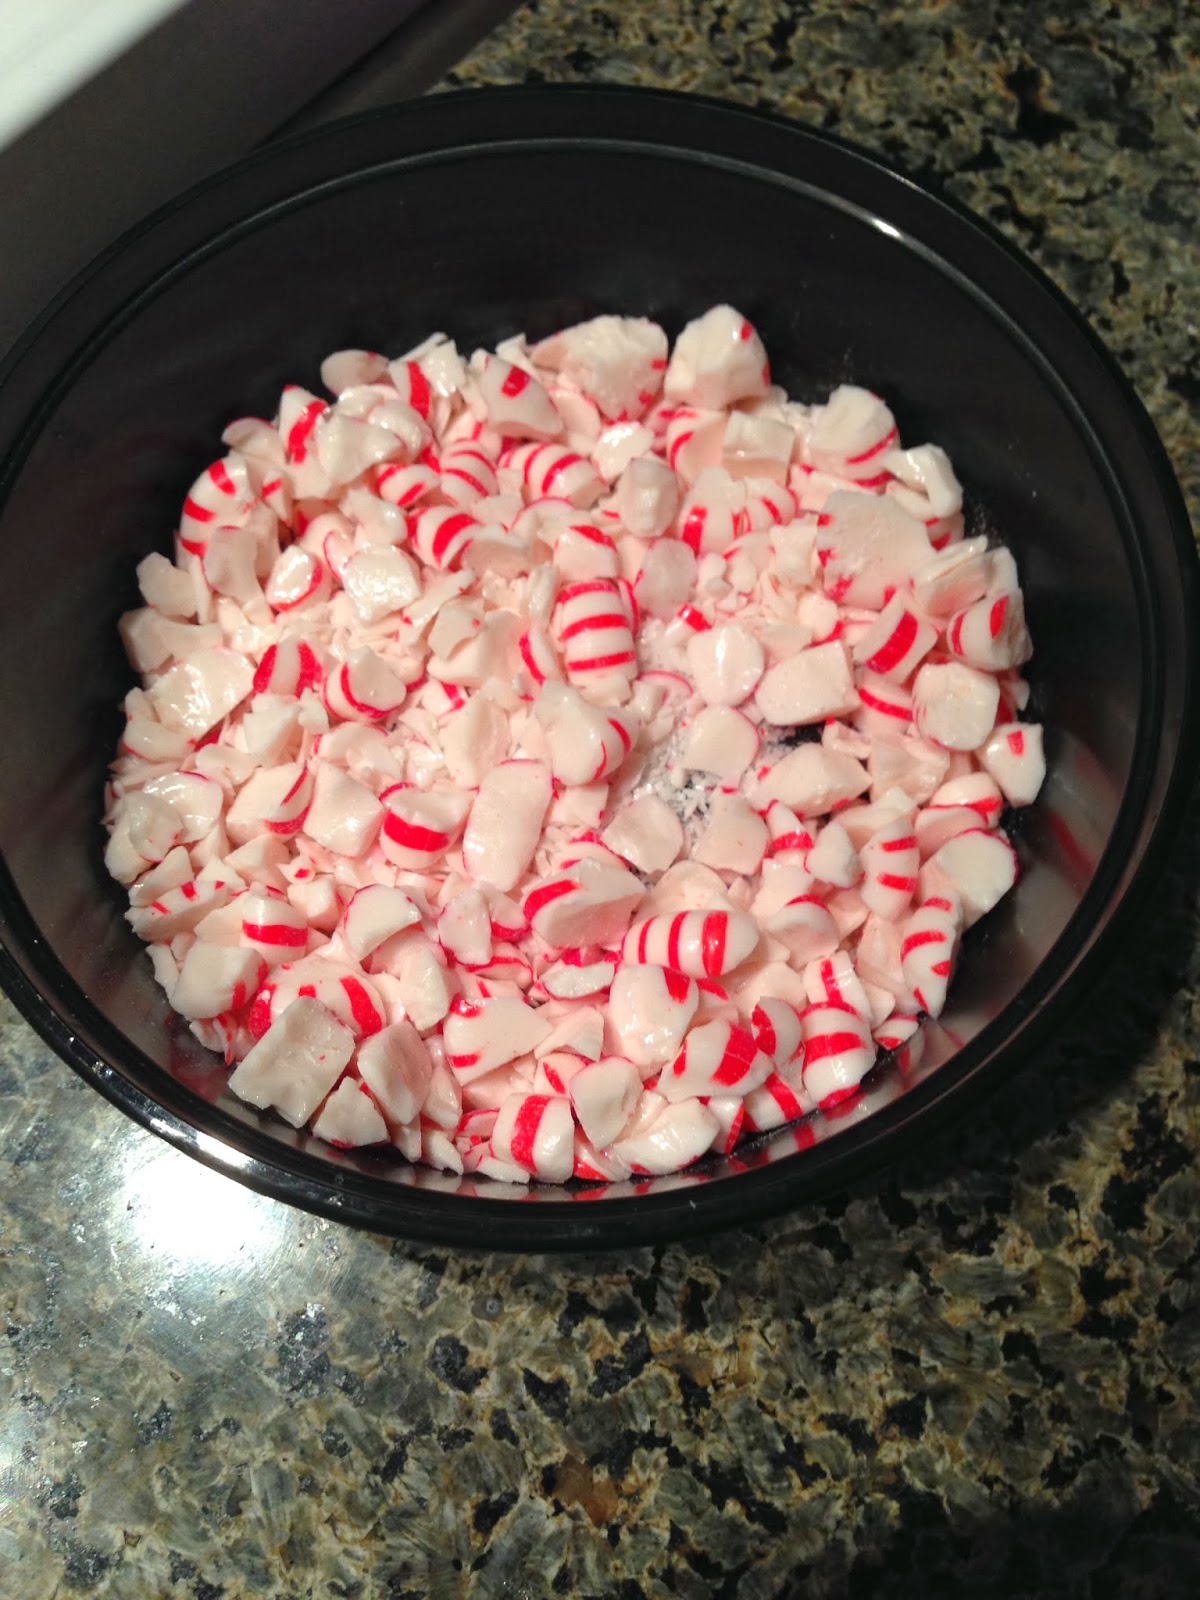
I needed to crush my peppermints, but you can buy them already crushed to save time. Put your mints in a ziploc bag and using a pan crush the peppermints. *Note: the bag will usually have some holes so be sure to put something underneath it.
Beat the cream on medium high for about 3 minutes until soft peaks form. When you put in a spatula or the beater, the cream should stick to it. Add in the sugar, vanilla and food coloring.
Beat until stiff peaks form. It should stick to the beater and not drip. Fold in the crushed peppermints, leaving out 1 tablespoon. Be sure not to over stir as you don't want to lose the fluffiness.
 Spread the filling/icing between the layers and on the outside. Don't put any on the top.

Glaze Instructions:
 Start by melting the butter in a small sauce pan over low heat. Add in the cocoa and water. Stir constantly until the mixture thickens. Then remove from the heat and whisk in the vanilla.
Blend in the sugar a little at a time until the mixture is smooth. I had to add some more water to thin it out. Pour and spread the glaze over the top of the cake. (Mine ran over the edges and down the sides a little bit, but I felt like it made it look a little more fun.) Sprinkle with the extra crushed peppermint and chill before serving. Keep this in the refrigerator to store.

Thursday, July 11, 2013

The West End - A Public House


The West End is a great new spot that I discovered while driving down Westheimer one day. So it ended up on the never ending list of places I need to try. They have a huge outdoor patio and open bar that would be great to hang out during one of the few perfect patio days Houston has. Their outside bar is quite large and there is tons of seating. When I went back to check it out, I started out with some "Fall Bubbles" because how can you not love a bubbly cocktail on a hot summer's day. This was prosseco, baked apple bitters, fruitlab jasmine, and a brown sugar cube. You could definitely smell the jasmine and the bubbly brown sugar cube made for a fun presentation. The baked apple bitters helped balance out the floral notes and gave the drink a touch of sweetness. It was a delicious and not something I have seen before.
 
Of course, I had to try the food so I opted for the calamari. This was served with marinara and roasted garlic aioli. (I have no idea why the picture can out red, but I promise it didn't look like that in real life.) To be honest, the calamari wasn't that great as the coating was a bit soggy and some of the pieces were a bit chewy. A squeeze of fresh lemon juice and the dipping sauces were much better than the calamari and saved it from being pretty bad. However, I probably won't be ordering it again. I do like calamari, but I guess I can be pretty picky about it. The coating needs to be crunchy and flavorful. I don't want to be eating all those unhealthy carbs if they don't even taste good.

Sometimes you just need a good dessert to round out a meal and the chocolate truffle cake didn't disappoint! It was drizzled with a raspberry sauce and was rich and decedent. the crust was almost like a brownie because there was a little bit of crunch to it, but the inside was soft and super dense and chocoately. There was a great chocolate flavor and who doesn't love chocolate and raspberry?! This cake was really yummy and helped end the meal on a high note. The West End has a huge beer selection and is a great option when you are looking for a relaxing place to catch up with friends.

Sunday, May 27, 2012

Essential Kitchen Tools

The kitchen is a place where magic happens and you can create some of the most wonderful things for your tummy. However, without the right tools it can be very time consuming. Creating the perfect toolbox for the kitchen doesn't have to expensive or overwhelming. What I have found is that it is an evolving process. I love finding new things that make being in the kitchen fun. One year for Christmas, I had found a garlic zoom at Williams Sonoma. All it was was a little circular box with wheels and a blade. You put the garlic cloves in and rolled it on the counter to chop the garlic. Let's just say garlic got put in everything.

I think that some of the essentials are a spatula, whisk, tongs, kitchen scissors, turner, and a spoon. From there, you begin to see what you might need based on the things you like to make. Kitchen tools are there to make your life easier, so for me I make pasta a lot and a pasta or slotted spoon comes in handy all the time. Once you have the essentials, then you get to add fun ones that you don't absolutely need to have but are just fun. I bake quite a bit, so a cake tester is very useful. Luckily for me, I got a really cute one, but toothpicks are usually something that are on hand and do the job just as well.

One of the newest ones, I have gotten is a lemon and lime juicer. I don't do a ton of juicing, but when I have to it's a pain. Somehow my hand is not as effective and I feel like I am wasting a lot of juice, especially with limes. I have seen the individual colored ones, like orange, yellow, and green for oranges, lemons, and limes, but not one like this. It can be used for lemons and limes. The larger bottom section holds the lemons and the middle section is for limes. All you do is put the half of whatever you are juicing in the appropriate section and squeeze. I think that it will be much better than me squeezing them by hand.

Though you can buy garlic chopped or minced, somehow using freshly peeled garlic makes everything ten times better. Since I use a lot of garlic, I decided it was time to invest in a garlic press. This one has a removable tray for easy cleaning. However, I was slightly upset when I found out this one did not have an awesome cleaning tool that pushes the garlic remains out of the holes. Oh, well. If you have never used one before, all you do is put the peeled clove in and squeeze directly into the pan.

I know that you are probably thinking that this is a pretty expensive toolbox, but it doesn't have to be. I am not a seasoned chef, so I am okay with not having professional grade tools, which can be very pricey. The higher end kitchen stores, like Willams Sonoma and Sur La Table, have these tools, but are more expensive. I have found that Marshalls has a lot of these for about half the price and they have well known brands like KitchenAid. I hope that you have a better idea of how to put together your own kitchen toolbox. Feel free to leave any questions you have. Let me know what your favorite kitchen tool is and if you know of any places to get great deals on tools.