Showing posts with label Christmas. Show all posts

Monday, December 23, 2013

Chocolate Peppermint Cake

I would say that I bake fairly frequently, but I can't remember the last time that I made a cake. I figured that the holiday season called for a festive cake, so I opted for a chocolate peppermint cake from Taste of Home. It looked the least complicated and didn't take almost a day to make. However, I will warn you that it is a three part cake - cake, icing/filling and glaze (so I apologize for the lengthiness of the post). They are fairly easy processes but it's not a one part cake. The other part about this is that you can make the cakes ahead of time and then assemble it on the day of your event.

Cake Ingredients:

2 cups of turbinado sugar
1 3/4 cups of flour (I used a combination of whole wheat and coconut flour)
3/4 cup cocoa
1 1/2 teaspoons baking soda
1 1.2 teaspoons baking powder
1 teaspoon saalt
1 cup milk, fat free
1/2 vegetable oil
2 eggs
2 teaspoons vanilla extract
1 cup boiling water

Filling and Icing Ingredients:
2 cups heavy whipping cream
1/4 cup powdered sugar
1 teaspoon vanilla extract
2 drops of red food coloring
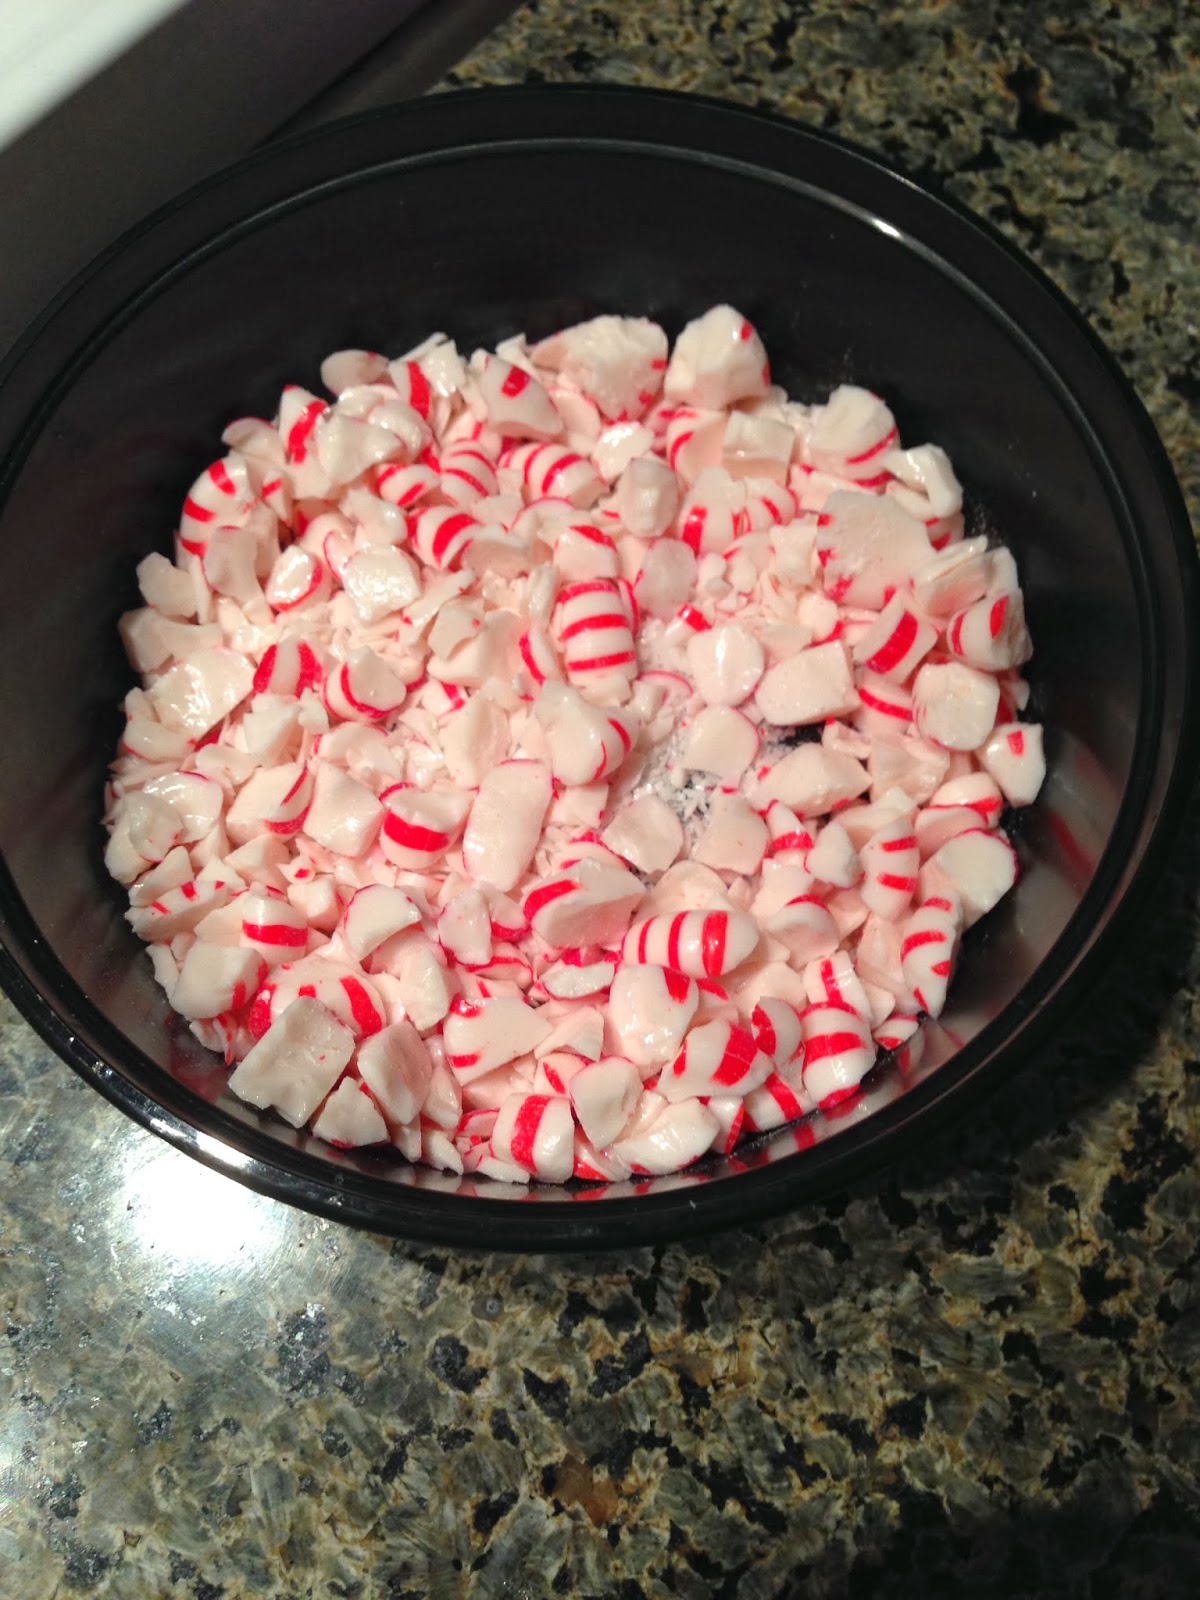
2/3 cups of crushed peppermints*

*1 tablespoon will be reserved for the finishing touch on the cake
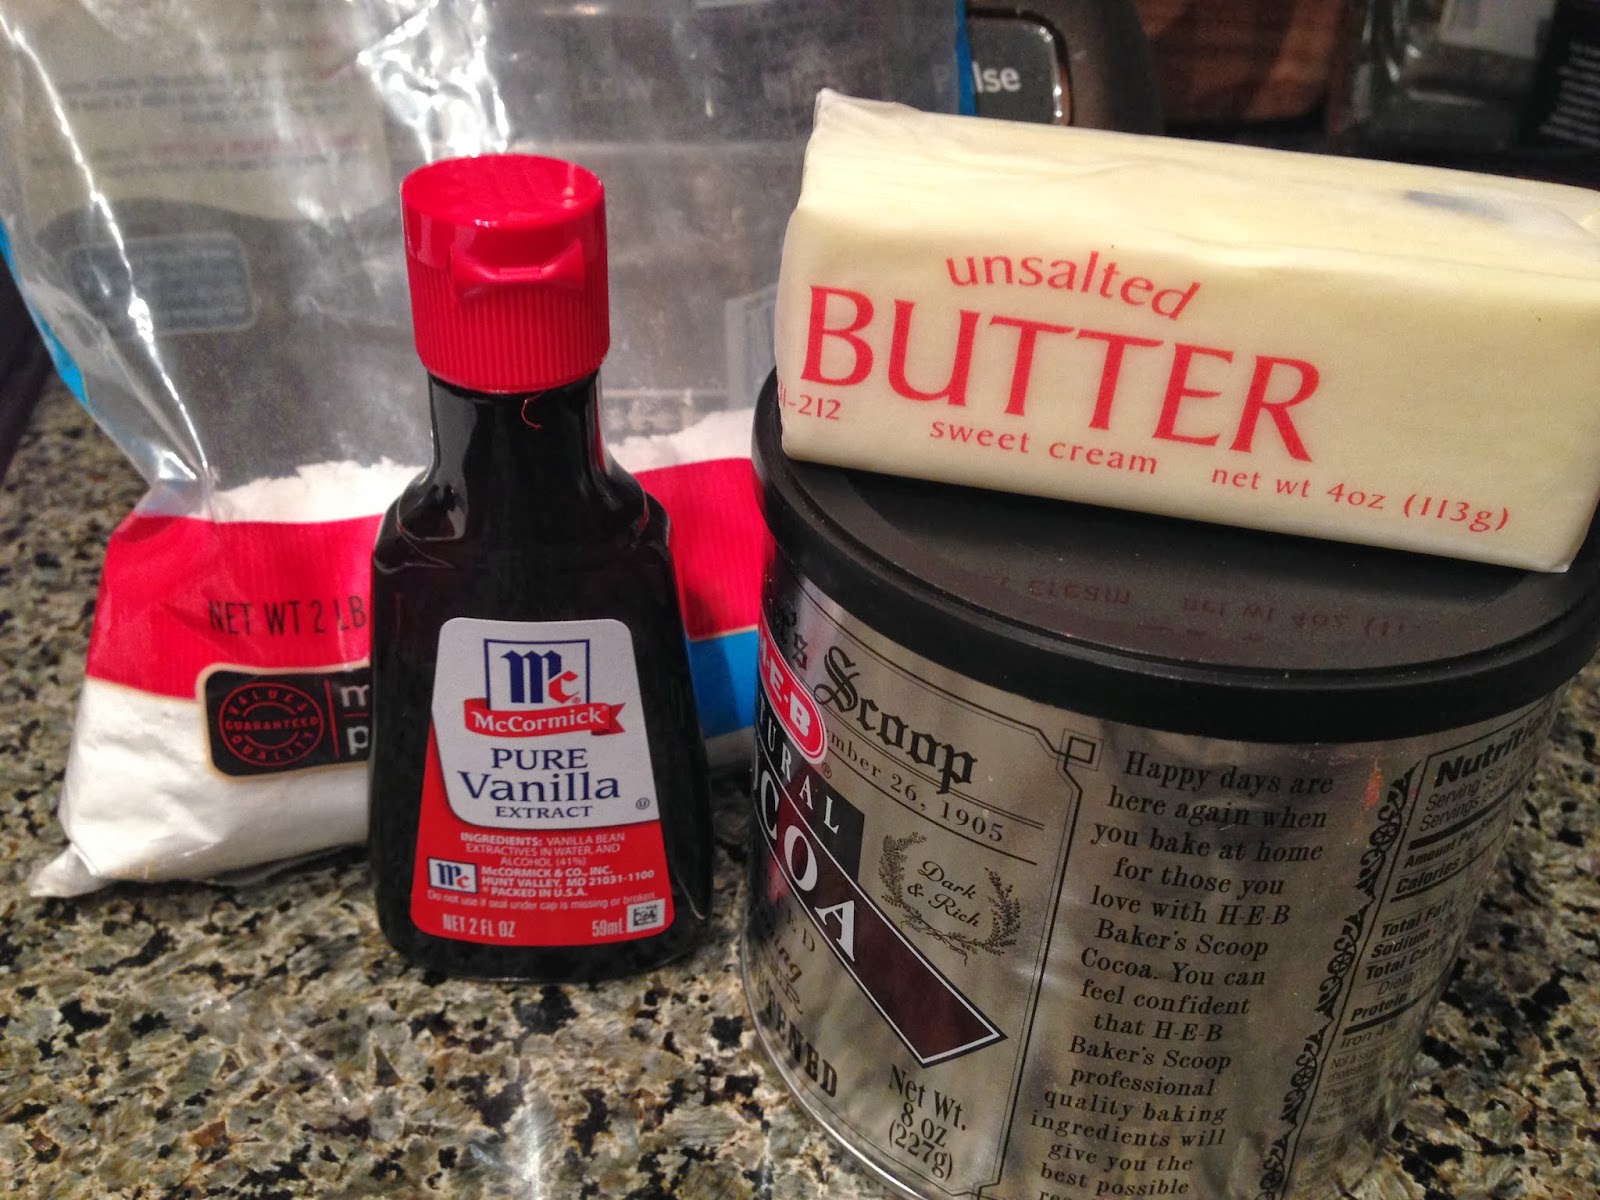
 Chocolate Glaze Ingredients:

2 tablespoons butter, unsalted
2 tablespoons cocoa
2 tablespoons water*
1/2 teaspoon vanilla extract
1 cup powdered sugar

*You may need to add more water to get the correct consistency.

Cake Directions::
Begin by greasing and flouring three 8 1/2" to 9" round pans. In a mixer, combine the sugar, flour, cocoa, baking soda, baking powder and salt.
Add in the milk, vegetable oil, eggs and vanilla extract and beat on medium for 2 minutes. Stir in the boiling water. Note*: It will thin the batter so don't be alarmed. 
Pour the batter into the greased and floured pans, making sure to evenly split the batter. Bake at 350 for 18-24 minutes or until a toothpick inserted into the cake comes out clean. *Note: I baked mine on two racks and then rotated the cakes part way through the baking since they didn't fit on one rack.

Filling/Icing Instructions:
I needed to crush my peppermints, but you can buy them already crushed to save time. Put your mints in a ziploc bag and using a pan crush the peppermints. *Note: the bag will usually have some holes so be sure to put something underneath it.
Beat the cream on medium high for about 3 minutes until soft peaks form. When you put in a spatula or the beater, the cream should stick to it. Add in the sugar, vanilla and food coloring.
Beat until stiff peaks form. It should stick to the beater and not drip. Fold in the crushed peppermints, leaving out 1 tablespoon. Be sure not to over stir as you don't want to lose the fluffiness.
 Spread the filling/icing between the layers and on the outside. Don't put any on the top.

Glaze Instructions:
 Start by melting the butter in a small sauce pan over low heat. Add in the cocoa and water. Stir constantly until the mixture thickens. Then remove from the heat and whisk in the vanilla.
Blend in the sugar a little at a time until the mixture is smooth. I had to add some more water to thin it out. Pour and spread the glaze over the top of the cake. (Mine ran over the edges and down the sides a little bit, but I felt like it made it look a little more fun.) Sprinkle with the extra crushed peppermint and chill before serving. Keep this in the refrigerator to store.

Sunday, December 15, 2013

Winter Berry Candle

So since I don't have a real Christmas tree, I was quite sure that my next candle would be some kind of pine scent as there is nothing more Christmasy to me than the smell of a tree. Little did I know that when I walked into Williams Sonoma one day that would change. One of my favorite candles is their spiced chestnut, but I think this one may have taken the number one spot. The winter berry candle is one of their newest scents, but it is fresh, light, fruity and clean. Their candles are made with essential oils so the scents are much more natural and the candles melt like butter. The winter berry is a combination of pomegranate, cassis and and orange. In case you were wondering, cassis is a syrup liqueur made with black currants. Not only does the candle smell delicious, but the bright red glass it comes in looks beautiful when the candle is burning. This is a great hostess gift (or gift to yourself) for the holiday season. Be sure to pick up one before they are gone.

Tuesday, December 3, 2013

Fabric Christmas Garland

I am one of those people that always likes to buy extra supplies for a craft project because that way I'll have enough if I make a mistake (which it seems like I inevitably will). However, this also means that I will have leftover supplies that I need to turn into a new project. I had some leftover red and green Christmas fabric and tied them to a cord to make a fabric garland. This is a much smaller version of the ribbon Christmas light garland I made a while back (which I absolutely love!). You can make this be any length, but because I was using what I had on hand mine was pretty short. I put mine around a canvas that I painted with the names of the reindeer. Of course Rudolph is in red and sparkly because you can never use enough glitter, especially around the holidays.

Supplies:
Strips of fabric, cut into about 6-8" long*
Scissors
White cord

*I estimated everything, so I don't have an exact length of each piece of fabric. I just made it long enough to tie a knot and then used that as a template for cutting the other pieces.
Directions:
 All you need to do is cut all the fabric and then tie it to the string. I only did single knots with the fabric, but if you want to double knots then you will need to cut the fabric to be a bit longer. I had more of the red fabric, so I did two red strips for every one green strip. This is a pretty quick and easy project where the hardest part is cutting fabric, but is a wonderful addition to your holiday decor.

Thursday, November 21, 2013

DIY: Glitter Candles

Candles are a great way to dress up your home decor whether or not you actually burn them. For me, nothing says the holidays like some sparkle and shine and so glitter candles are perfect. These are a great gift that are simple to make and are easy to personalize. You can be as creative or fancy as you want with these. You can use them in your table centerpiece or as a favor for your guests. No matter what you do with them, I promise they will make your holidays a little more festive and bright.

Supplies:
Modge Podge
Sponge brush
Candles, any size, shape or color
Glitter*
Paper plate

I used a small white candle about 4 inches high and a red candle about 10 inches tall.

*I used green extra fine glitter and then regular silver glitter. You can use any size glitter that you want.

Modge Podge dries pretty quickly so you will want to do this in smaller sections. I decided to start with the white candle and green glitter. I wanted a simple glitter band at the bottom, so in small sections I Modge Podged the bottom and sprinkled glitter over each section. I did this all the way around the bottom.
I wanted to do a striped candle, but realized that I needed painter's tape which I unfortunately didn't have. However, I was lucky because this red candle came with a label wrapped around the middle, so I decided to do two silver stripes at the top and bottom and use the label as my painter's tape. I put these two candles with a wine bottle holding some festive and fun holiday floral sprays. If you are willing to get a little bit dirty with the glitter, then these will definitely be for you!

Wednesday, November 20, 2013

Holiday Wall Decor

I don't have much on my walls and I had an extra canvas so I decided to spruce up my walls and make some festive holiday artwork. The canvas I had was 8 x 8 and I wanted to do something that reflected the one thing I miss most about the winter time here...snow! I painted the canvas a light blue color and used a stencil to trace a larger letter to make them stand out. I free handed the rest of the words, "Let It Snow". I added some snowflakes in the extra space and then for a bit of sparkle glued some blue and clear rhinestones. I can't say that I can the best at free handing things, but I guess it's okay for things to look less than perfect. This took less than an hour to make and if you don't like it, you can always repaint it and start again (before you add the rhinestones of course). So let your creativity run wild and see what you end up with!

Sunday, November 10, 2013

DIY: Christmas Pillows

Decorative pillows are pretty expensive and for some reason I can never find the ones that are on sale. I wanted so festive Christmas pillows for my couch, but quickly realized that I had very expensive taste. I remember seeing a DIY for creating pillow covers so I headed over to Hobby Lobby.
The two pillows I was covering were 18" x 18", so I bought 1 1/2 yards per pillow. However, I really needed two yards per pillow but I made it work. Place your pillow in the middle of the fabric. Bring the bottom sides up to meet, just like you are wrapping a package.
Fold the ends in to create two points. If you have enough fabric, then you can either knot the fabric or pin it together. Since I was a bit short I chose to pin it together. I used a silver reindeer pin that I found at Hobby Lobby to bring it all together. This is a simple and relatively inexpensive way to switch up your couch pillows without spending a fortune.

Monday, December 10, 2012

Houston Zoo Lights

Looking at Christmas lights is always fun, but it's even better when you get to do it at the Houston Zoo. Zoo lights is a Christmas light display at the zoo. Not only do you get to see the lights, but you also get to experience the zoo at night. Though it wasn't all that chilly outside, it was still fun to walk around, enjoy the lights, and pretend we were in a winter wonderland. In addition, there was live caroling and hot chocolate. The other cool part about Zoo Lights is the opportunity to see the animals at night and boy were some of them active. The elephants and giraffes were posing for the cameras and the tiger was on the prowl. It was neat getting to see the fun light displays and the animals. If you are looking for a new way to entertain the kids or something fun to do, be sure to stop by Zoo Lights.

Monday, December 3, 2012

Christmas Garland

Last year I found this adorable light and ribbon garland on Pinterest that I made. It's super simple to make, but it does take some time. All you do is take a strand of lights and tie leftover ribbon or tulle on it. I didn't have that much leftover ribbon, so I just bought additional ribbon that coordinated with what I already had. I chose not to go the super traditional route and incorporated some fun color and patterned ribbon. This year while on Pinterest, I started seeing that "Merry Christmas" banners and thought it would look really cute with the light and ribbon garland I had. I decided to challenge myself and only make it with things that I had on hand. I started out with a gift tag template and traced it onto construction paper. Each tag was a letter and since I had different colored ribbon on the garland, I used all the colors. This is a great way to use up any leftover supplies since the tags are pretty small and each one is different. After I did one for each letter, I used mini clothes pins to hang them on a string in the light and ribbon garland. The best part about this is that you can make it your own and make it as simple or ornate as you want. I kept mine on the simple side because my garland was so colorful. I know it may seem overwhelming to start from scratch, but there are tons of ideas on Pinterest and once your creative juices get flowing, it will be a breeze!

Saturday, November 24, 2012

Peacock Perfection

This year I decided to do something completely different from the usual red and green theme for my wreath. I saw this absolutely gorgeous peacock tablescape and have been inspired to do something peacock themed. I went for it and decided to do a peacock themed wreath, so I headed to my go to craft store Hobby Lobby. I started with a plain green wreath and then found some glittery peacock feathers, sprays in bright cyan, electric blue, and greenish blue colors, and electric blue ornaments. So the challenge was making it all come together because it was touch and go at the beginning. The thing about wreaths is that you just have to start somewhere and just go for. For me, it will never turn out how I am expecting it to and that's okay.
I created a layer over the greenery with the electric blue glittery sprays I had. I filled in the gaps with the greenish blue sprays and added two of the peacock feathers at the top. For the finishing touches, I added three ornaments randomly and then filled in with the smaller sprays I had. It definitely was a little scary because when I first started it looked like a disaster. Fortunately, everything came together and I love it. It's unusual and I am proud that I got it to come together. This season don't be afraid to do something different and be inspired by the things you see.